


 Tiếng Việt
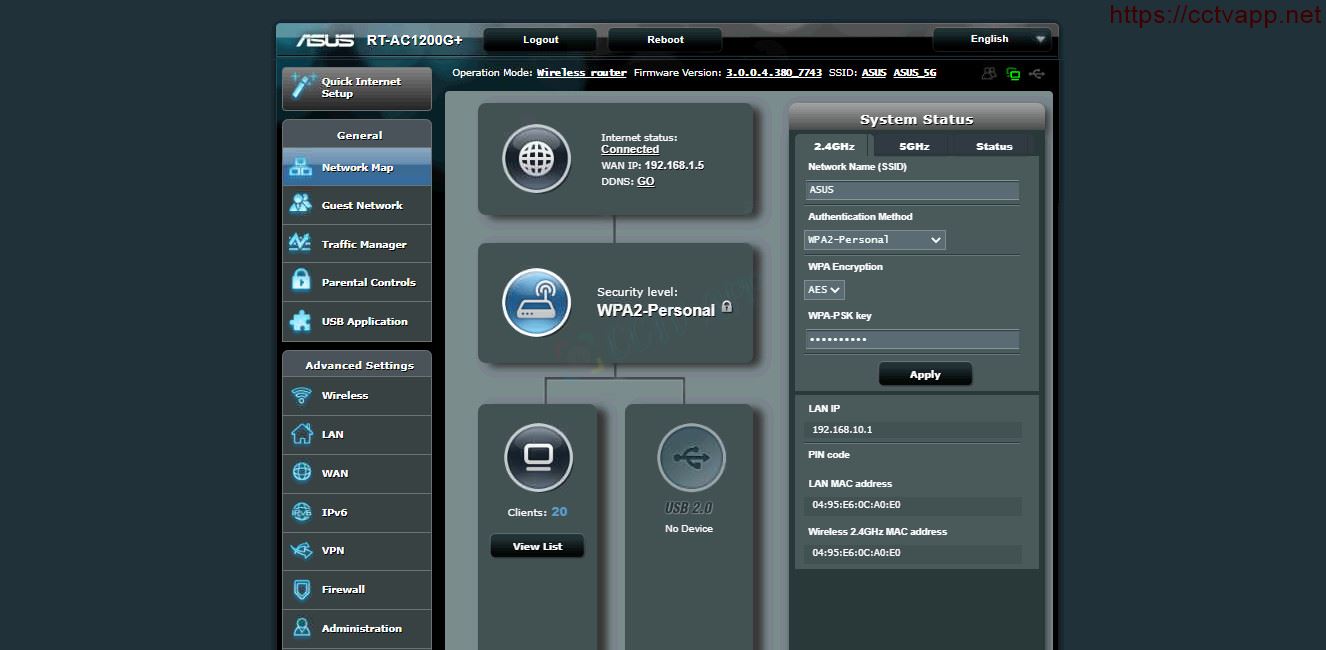
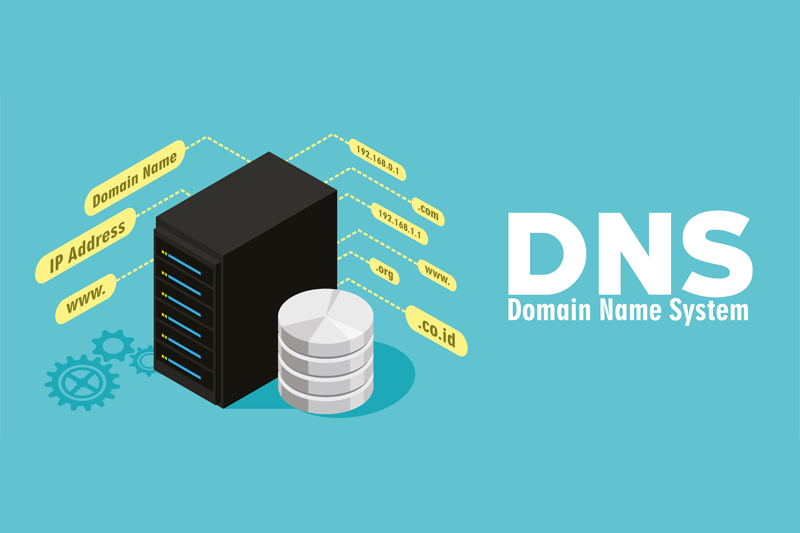
Today I will show you how to open the modem port to install install remote camera view. Opening the port for the camera and using the domain name will help connect to the camera faster when using Cloud P2P. Also in case of remote pull also need to open the port. This guide is applicable to Router ASUS RT-AC1200G+ and equivalent product lines.
No matter what modem port you open, regardless of carrier. You need to prepare yourself some of the following requirements:
- Identifies the IP address of the DVR and the ports to open.
- Identifies the IP address of the modem (on cmd -> type ipconfig -> see address of Gateway)
- Computer or phone and camera receiver must be connected connect to the router’s internet network.
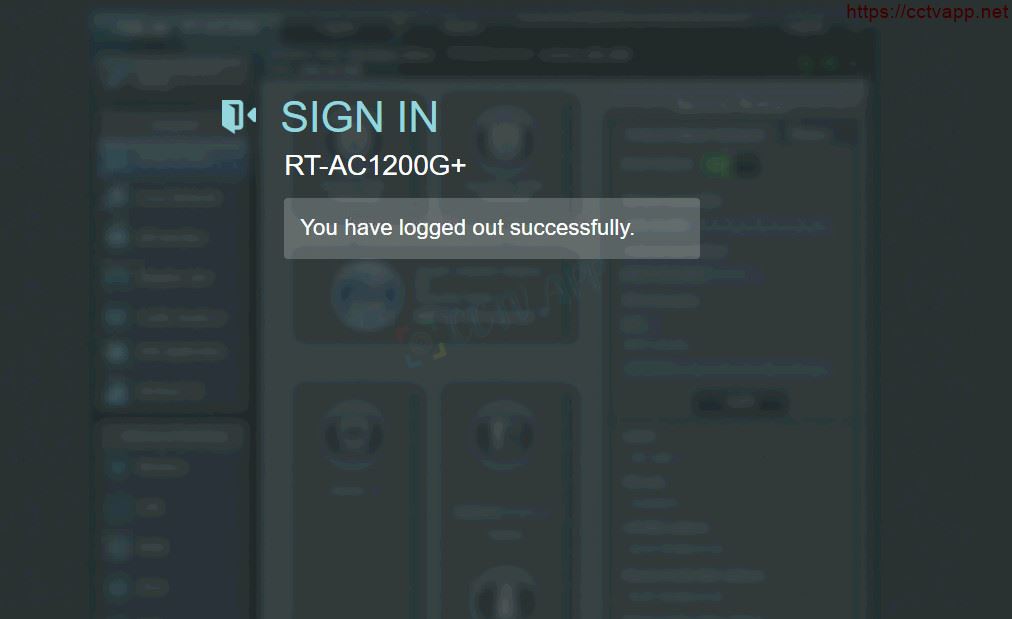
Step 1: Login to ASUS Router
- Log in to your modem by opening a web browser and typing : http://192.168.10.1 (default). The modem interface will appear and you will be asked to log in.
- Default login information is printed on the sticker below the Modem.
- The default account is usually: admin. The default password is usually: admin.
Step 2: Open Port
Do the following to open the Port:

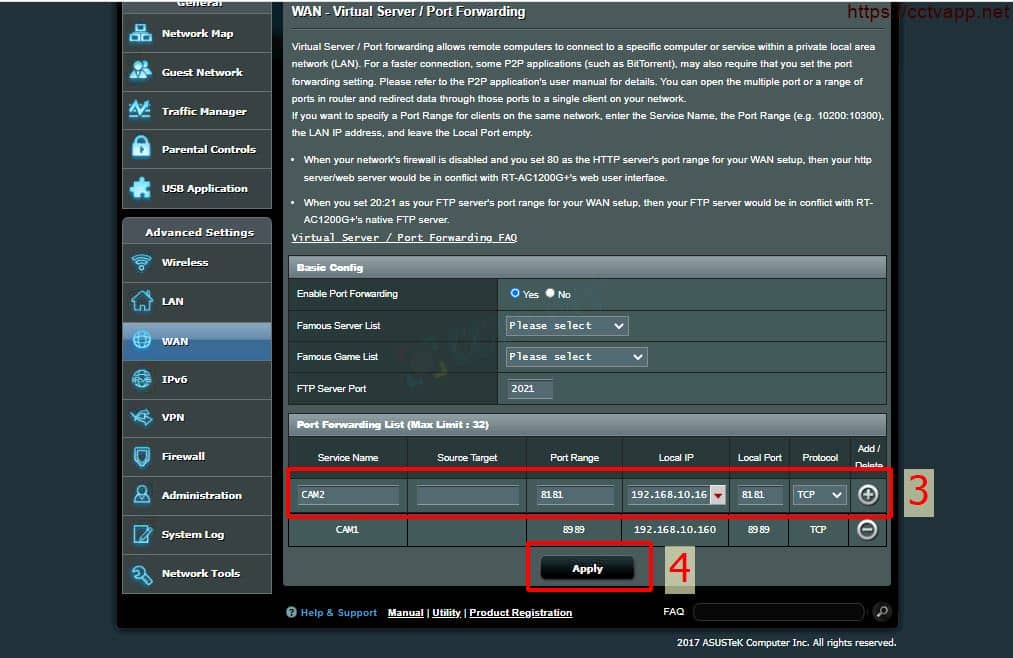
In which:
- Service Name: Name anything.
- Source Target: Leave blank.
- Local IP: Enter the IP address of the device.
- Protocal: The default is TCP, you can choose TCP/UDP or UDP.
Finally press ‘Apply’ to Add port.
Example: As shown above, it is opening port 8181 for device with IP address: 192.168.10.16
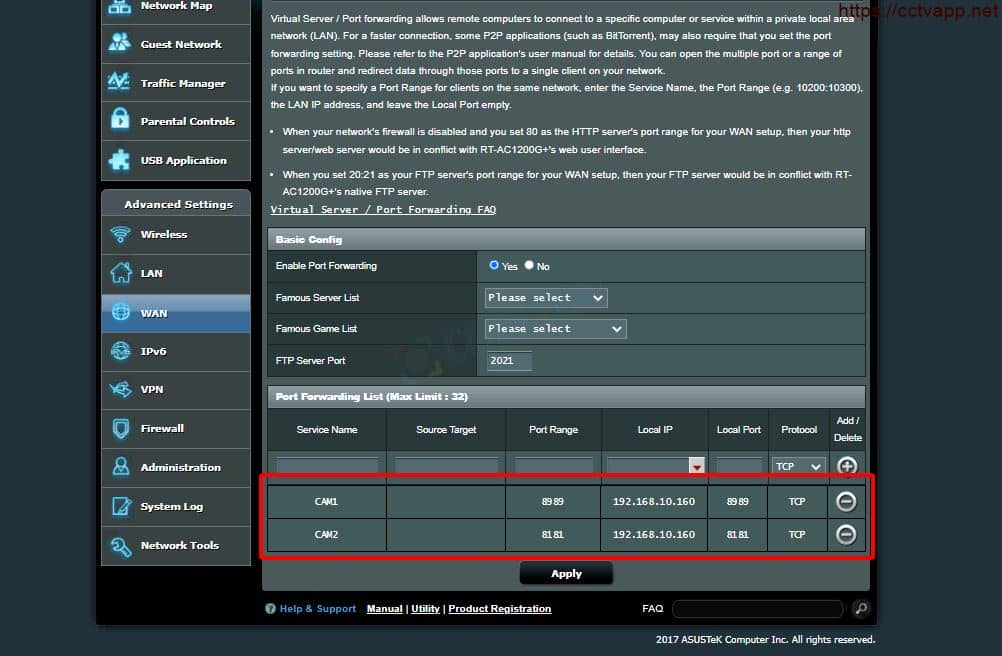
After opening the Port, you will get the following image:
Step 3: Check port opening results
After opening the port. You need to check if your port is open or not.
- By going to ping.eu after you select Port Check.
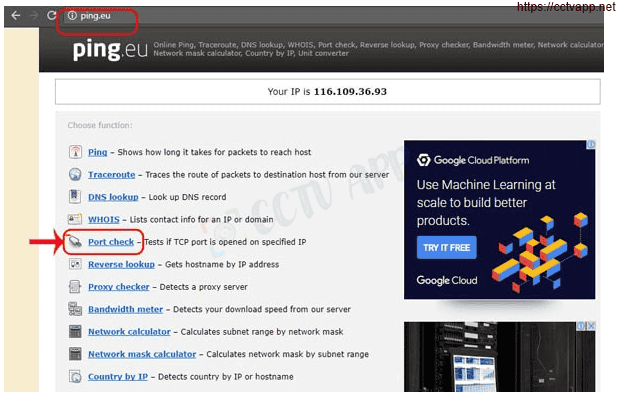
- Browser will redirect to another page here you do the following:
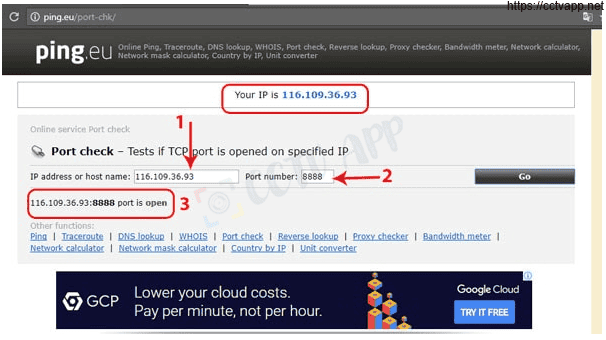
- Click on the number after the text Your IP is
- In the box IP address or host name will appear that sequence of numbers
- In the box Port Number you enter the ports you have opened. press Go.
- If the results are as shown above, you are successful. In contrast, as shown in the image below, you are not successful, need to recheck the steps performed in on.
Good luck with your installation!!!