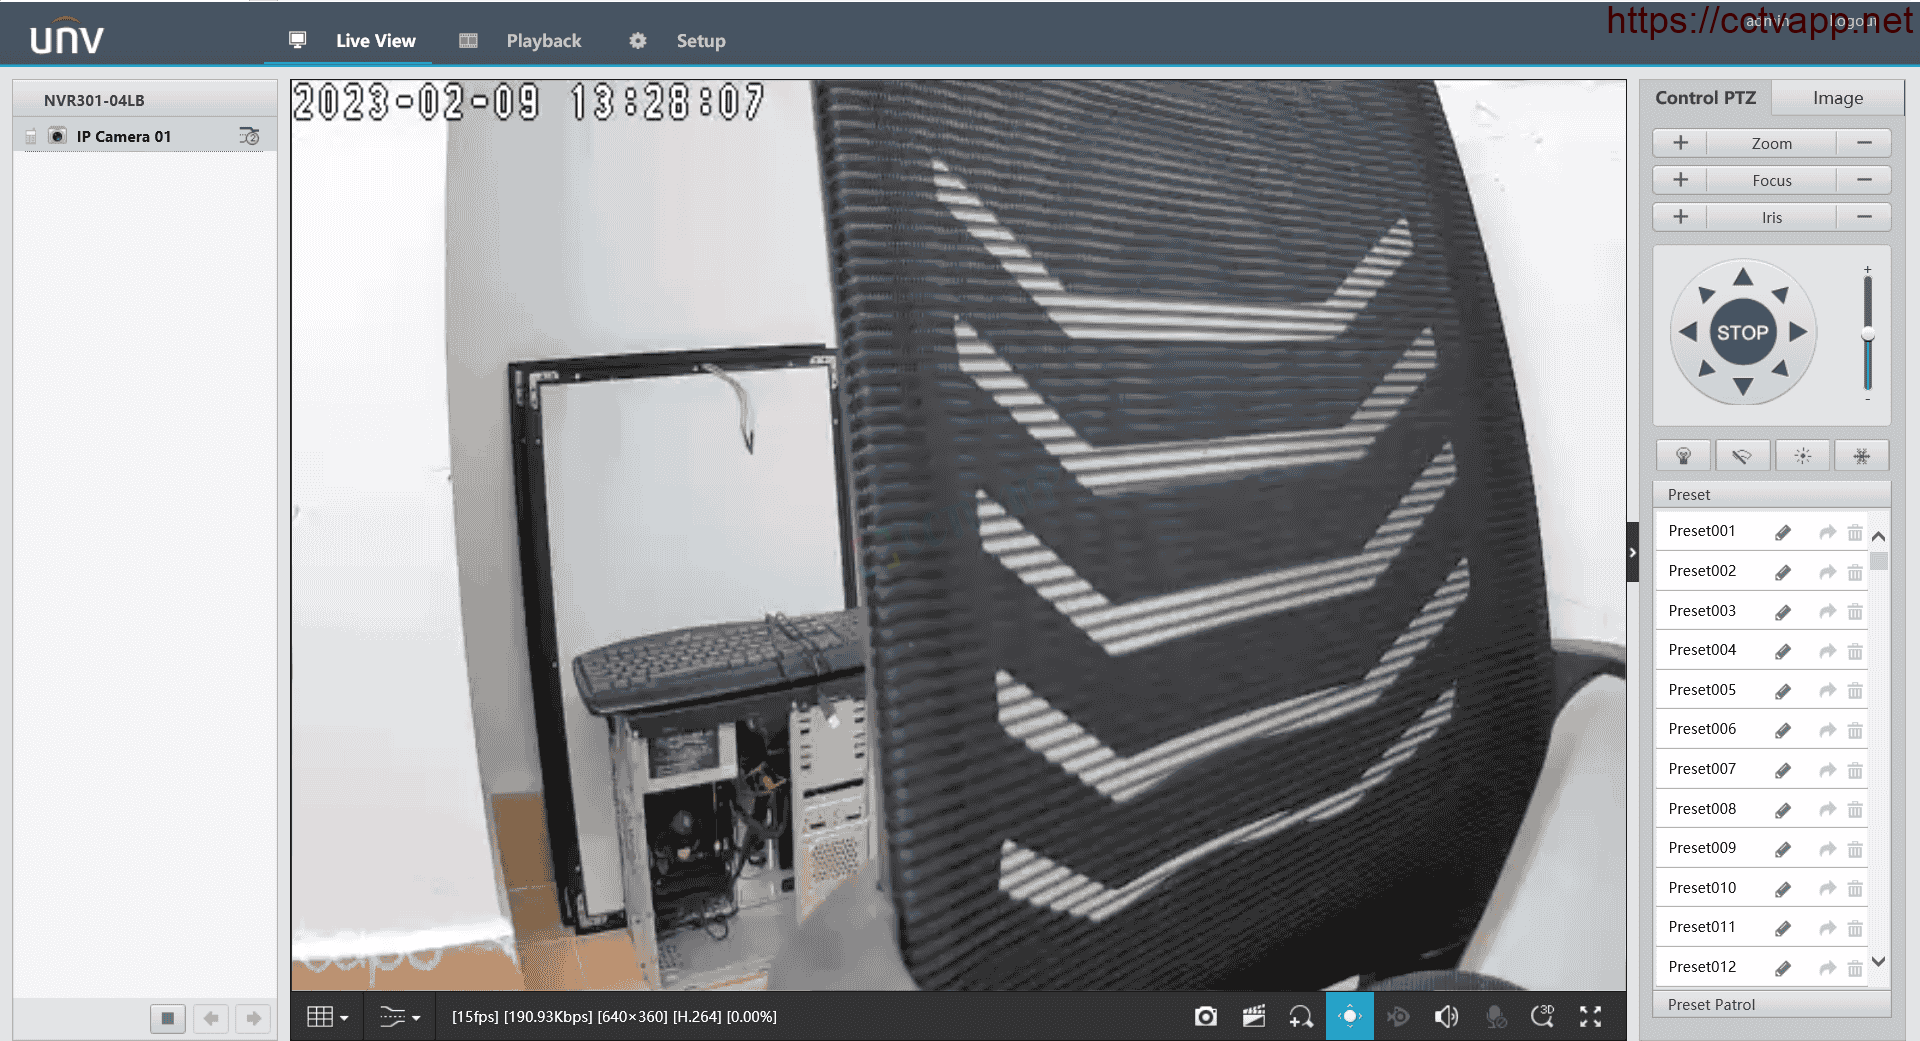
In this article, I will show you how to connect TPLink Tapo WiFi Camera to UNV DVR. With just a few simple steps, you can quickly connect the Camera to the recorder.
1. View Tapo Camera IP Address
First, you need to determine the correct TPLink Tapo Camera IP address by opening the Tapo app on your phone and doing the following:
2. Create an Onvif account
By default, Onvif account will not be activated, you need to create an Onvif account on Tapo app:
3. Add Camera to UNV DVR
Follow the following instructions to add a Camera to the UNV recorder:
When adding Camera Tapo to the Onvif standard recorder, please note:
- HTTP Port is 2020.
- Account and password created on Tapo app (phone).
I tested with 2 devices:
- TPLink Tapo C20 Camera, Firmware Version: 1.3.0, Hardware Version: 3
- UNV NVR301-04LB DVR, Firmware: B3412P30C13610
The results obtained through the recorder can still be heard, PTZ control (up/down/left) / right), can see 2 streams Mainstream and Substream, but can’t talk to the Camera two-way.
Thank you for following this post!!!
